Steps for Application Using Drywall Screws
for Ground Control Horseshoes
Good
for horses that are sensitive to nailing, or rear when being hammered.
This is also a great method for a person who has difficulty hammering
because of a disability, carpel tunnel, or a self-reliant horseman or
woman (like myself) who is looking for an easier method to apply the
shoes other than nailing.
• Trim the hoof as you would to apply a horseshoe. File the toe area to match the shoe angle.
• Use fine thread, dark (not shiny) dry wall screws, the shiny ones
are hardened and will break easier. Use between 1 1/4” to 1 5/8’ long
drywall screws. Wood screws are thick and do not have threads all the
way to the head, so will NOT work.
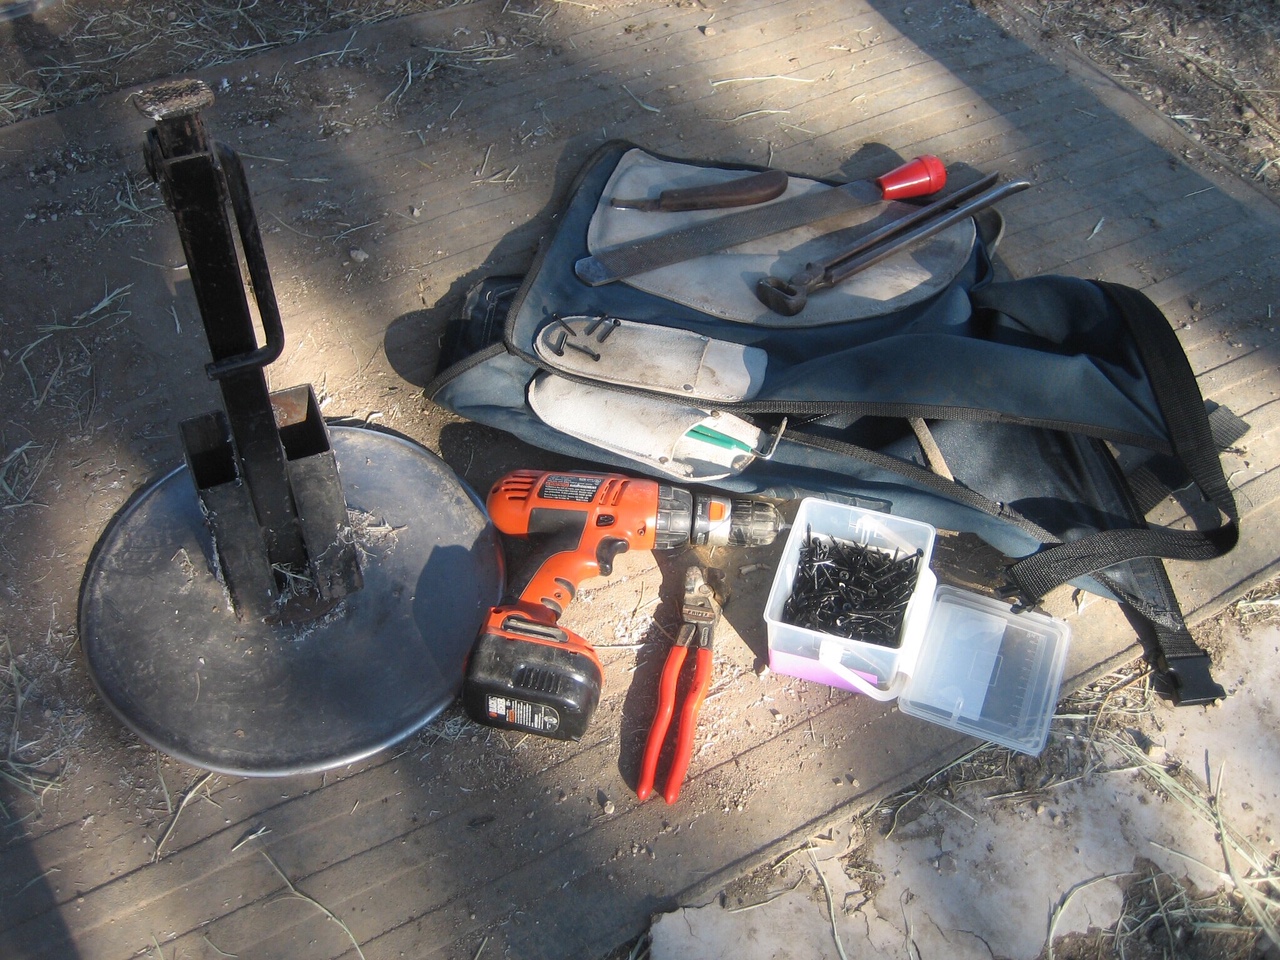
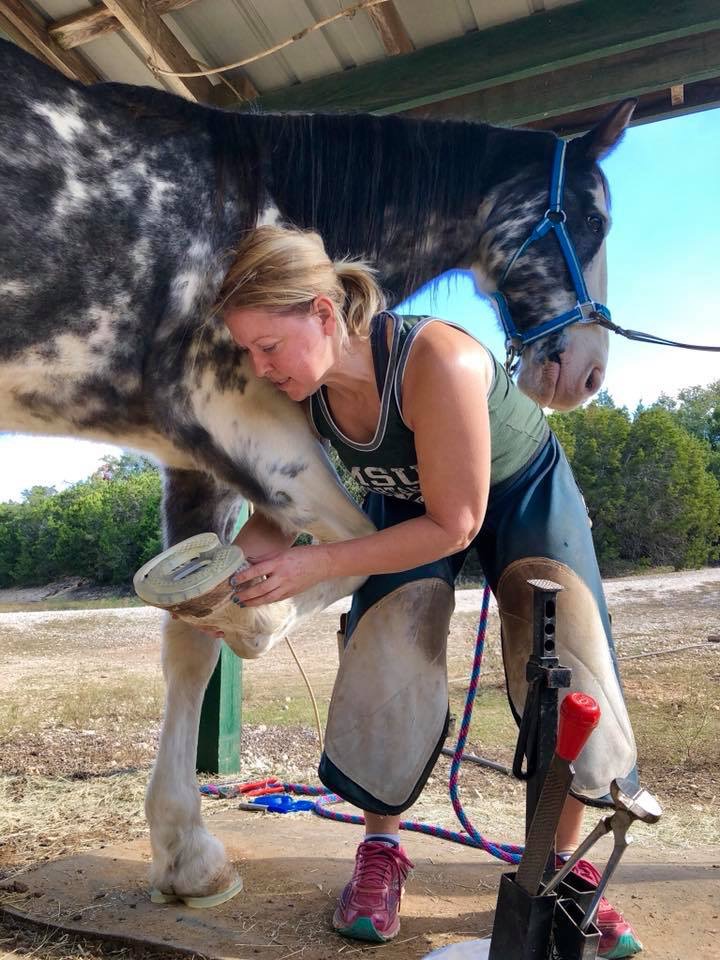
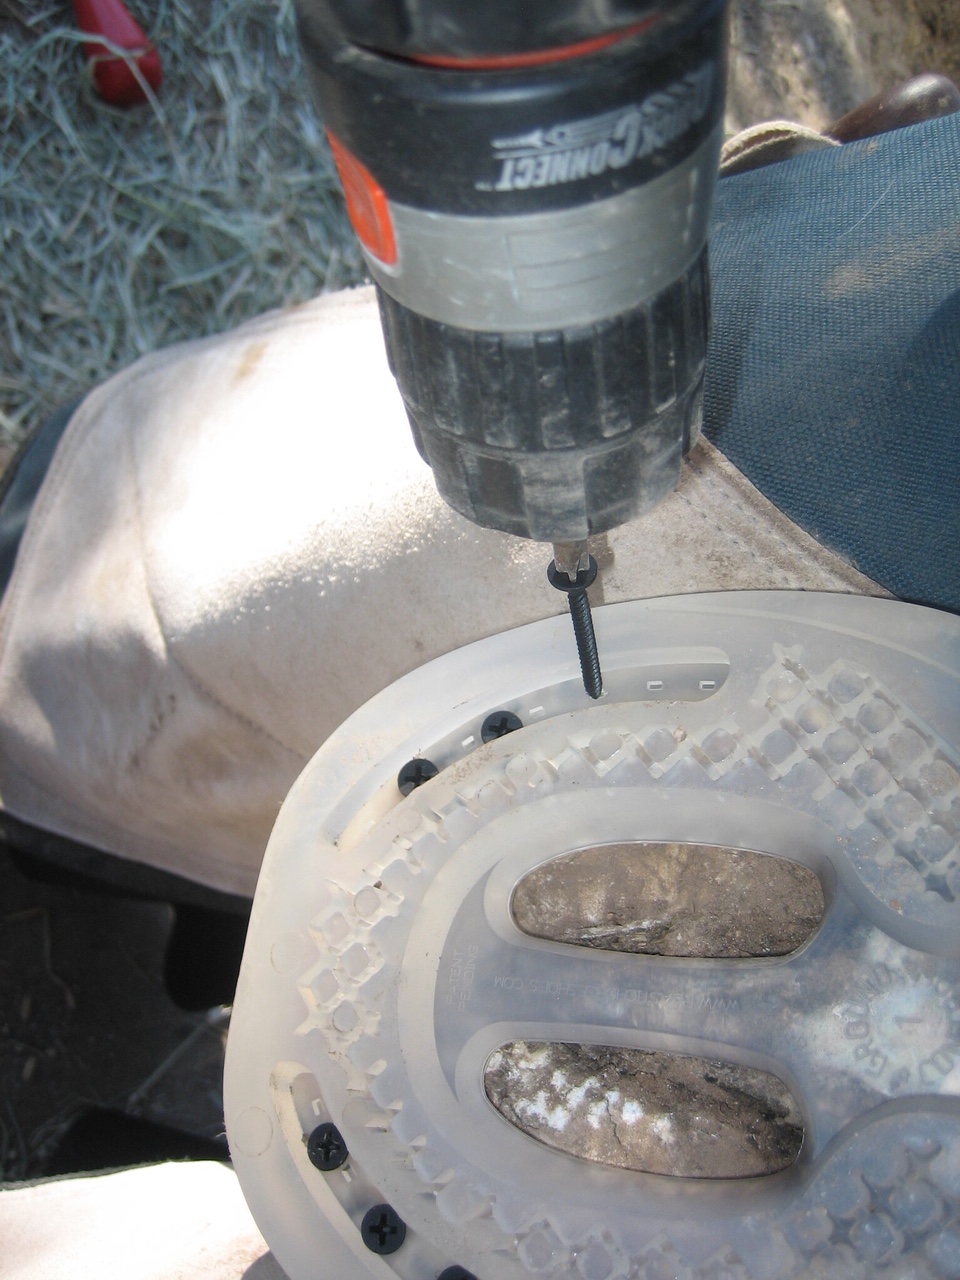
• Use a battery powered drill with a phillips head dry wall screw
tip. Apply 4 screws per side - use a total of 8 screws per shoe. No
predrilling is required. Line up the screw in the nail channel by the
white line of the hoof and aim so that the screw exits the hoof wall
about 1/2” from the bottom of the hoof. The screw MUST exit the hoof
wall. Make sure you are using a long enough screw. Back out the screw if
necessary. Throw away a screw that is hot. Proper placement of the
screw is crucial. If you place the screw too far inside the hoof away
from the white line, it will sore your horse. Too close to the edge and
low will not be secure and will cause a crack in the hoof wall. I like
to aim straight down at the white line. Sometimes I angle the screw to
the outside of the hoof at the steeper parts toward the rear of the
hoof. Use good judgement to get the placement correct. Take a deep
breath and take your time.
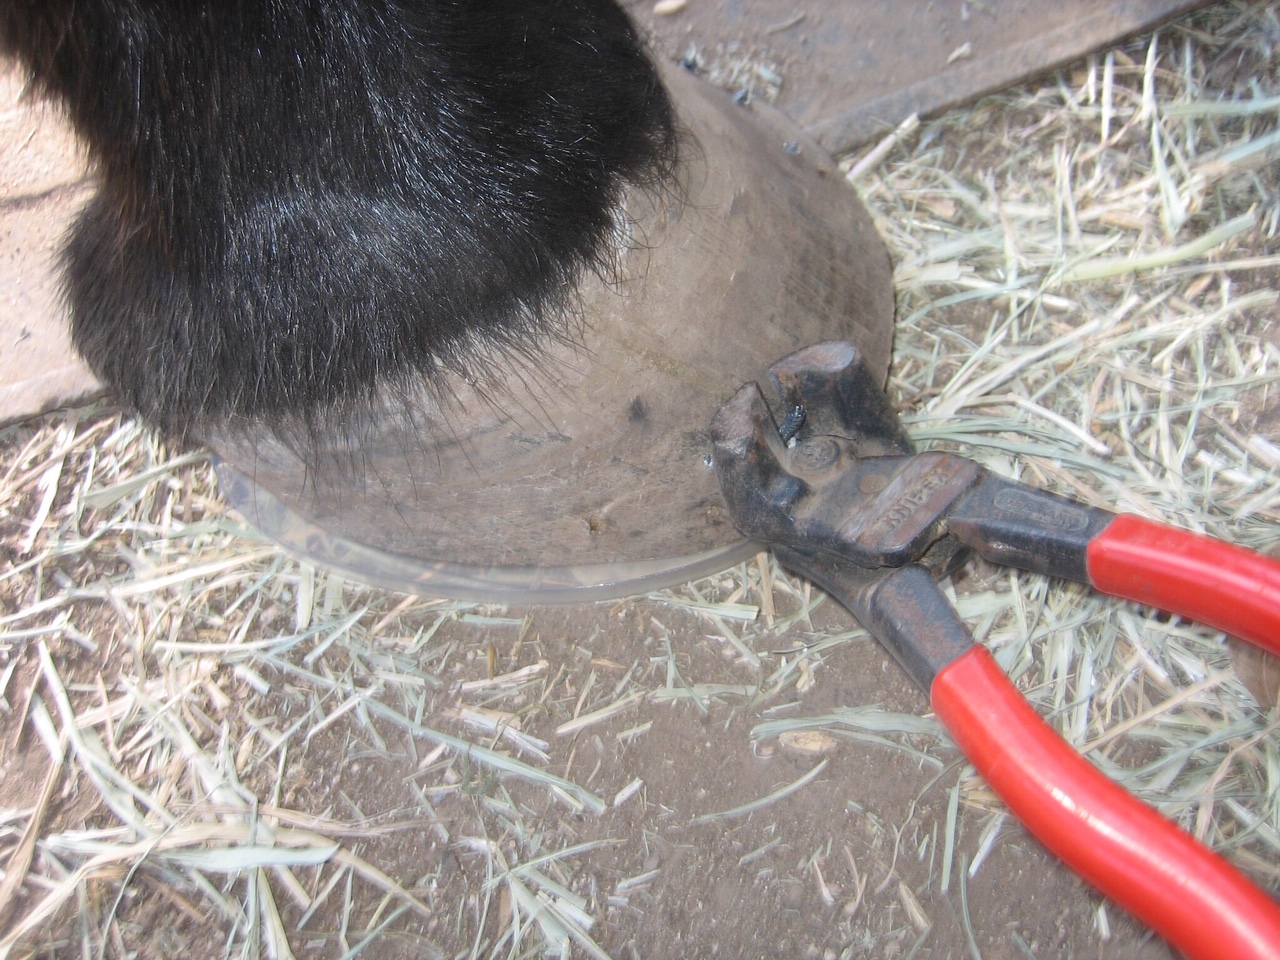
• Nip off the end of the screw with a high leverage end cutter (I
like the Knipex brand) after the screws exit the hoof wall, close to the
hoof. It is easier to apply a screw to each side first, then place the
hoof on the ground to nip off the ends of the screws two at a time. Be
careful, screw ends are sharp! You don’t have to file or clinch.
• Trim the shoe. Once the shoes are applied, use the hoof nippers to
trim the back of the shoe and use a file around the edge of the shoe.
Leave enough of the shoe sticking out around the edges and at the back
for support.
Trimming too much off the sides will weaken the shoe.
• To remove shoes, use a horseshoe nail to clean the dirt out of the
screw heads to get a good connection with the phillips head bit. If the
phillips head spins and doesn’t twist the screw out, then do some better
cleaning with the horseshoe nail to dig out the dirt - you don’t want
to strip the head of the screw. It is better to spend more time
cleaning, than to strip a screw head.
• Reset shoes at about 5 or 6 weeks maximum before any screws
loosen or break. If a screw breaks, use pliers or vice grips to grab the
screw part and twist it around to back it out of the hoof. Sometimes
the end of a screw that remains in the hoof can be trimmed away if this
happens.
I
have been using this method myself for 25 years. It has made me
self-reliant, saves money since I can do it myself, and my horse is
happier too. It is still hard work and not for the lazy or weak. By the
end of shoeing my horse, I am sweaty, and my back, legs and hands are
sore. Farriers deserve getting the prices that they charge. It is hard
work! But if you feel you are up to the challenge, apply the Ground
Control Horseshoes with drywall screws.
— Kristy McNelly